modern farmhouse shiplap
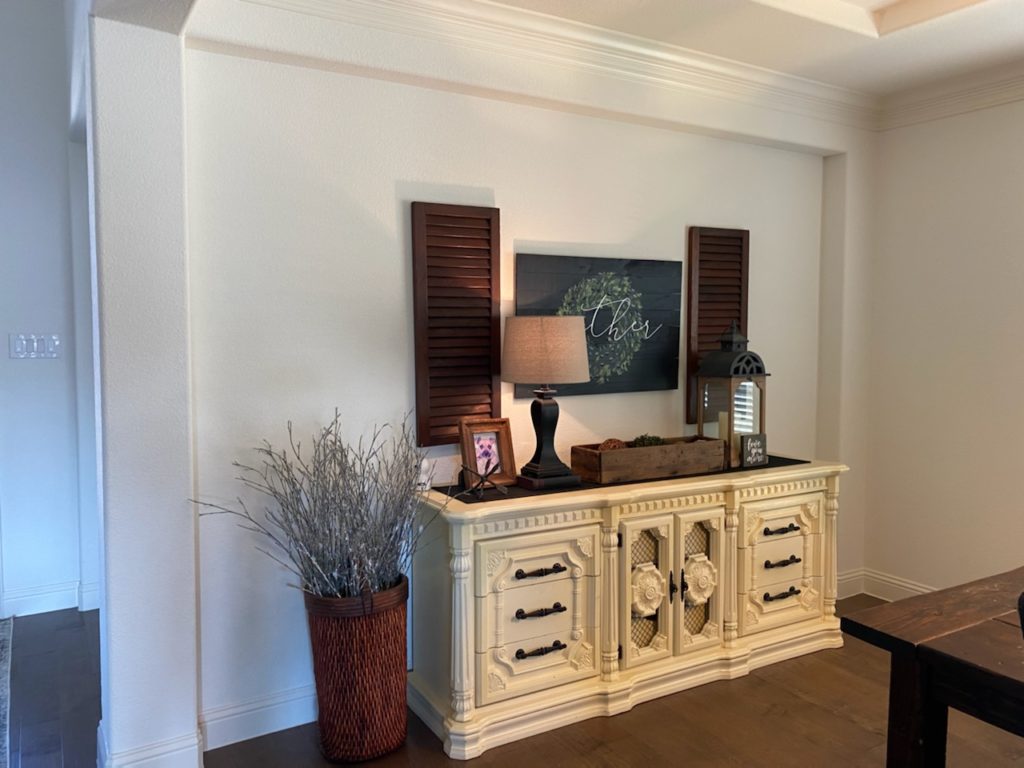
From the moment I seen this wall (way back in the building phase) I knew it HAD to make a statement. My mind right away went to SHIPLAP! I love the way it adds texture to a wall and THIS space was the perfect spot to try it out!
This weekend we headed out to our second home (HomeDepot) and picked up some shiplap! They actually have several different options available in store. These planks come in a variety of different sizes and widths. I ended up selecting an 8 inch width board however, they also come in 6 inches. My suggestion is whatever width you select, you continue throughout your home.
tips & getting started
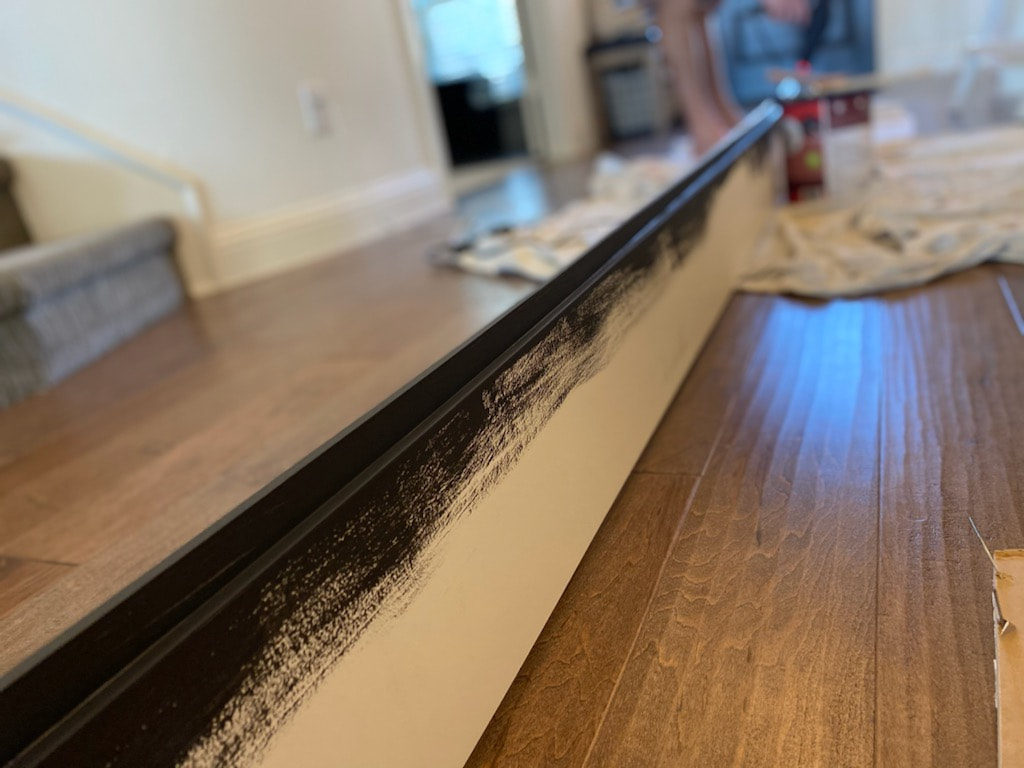
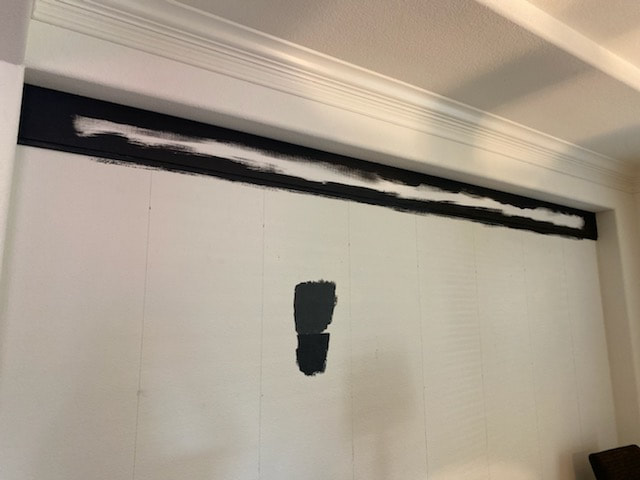
A great tip before you get started is to paint the edge of the wall where your installing! Having to go back and paint between a small space is very time consuming and hard to do, so make it easy for yourself! Unfortunately, I learned the hard way!!
My hubby also marked the studs with a straight line down the wall so we knew where to nail down. Along with myself painting the top edge of each board. Once the board was up on the wall (nail gun and adhesive calk), I went back and painted the bottom edge before installing the next board. After the first few boards, we definitely got into a nice groove! Don’t forget to fill the nail holes!! The color I ended up using is the same black I already have in my home. It’s on our butler’s pantry cabinets and our kitchen island, so the color choice for me was a no brainier! Plus, I’ve always said my favorite color is B L A C K!!! With all the white I have in my home, a color like black helps to ground the room. Another great tip I went with a “flat” paint. The shiplap in itself is a statement, so I didn’t want to add any “extra” AKA – a sheen to the paint.
All our boards were cut, painted, and up on the wall at the end of Saturday. We actually ended the day with a second trip back to Home Depot to pick up our trim boards for the top, sides, and bottom baseboard. Then Sunday, we finished painting all the boards, trimmed out the whole wall, cleaned up and put everything back.
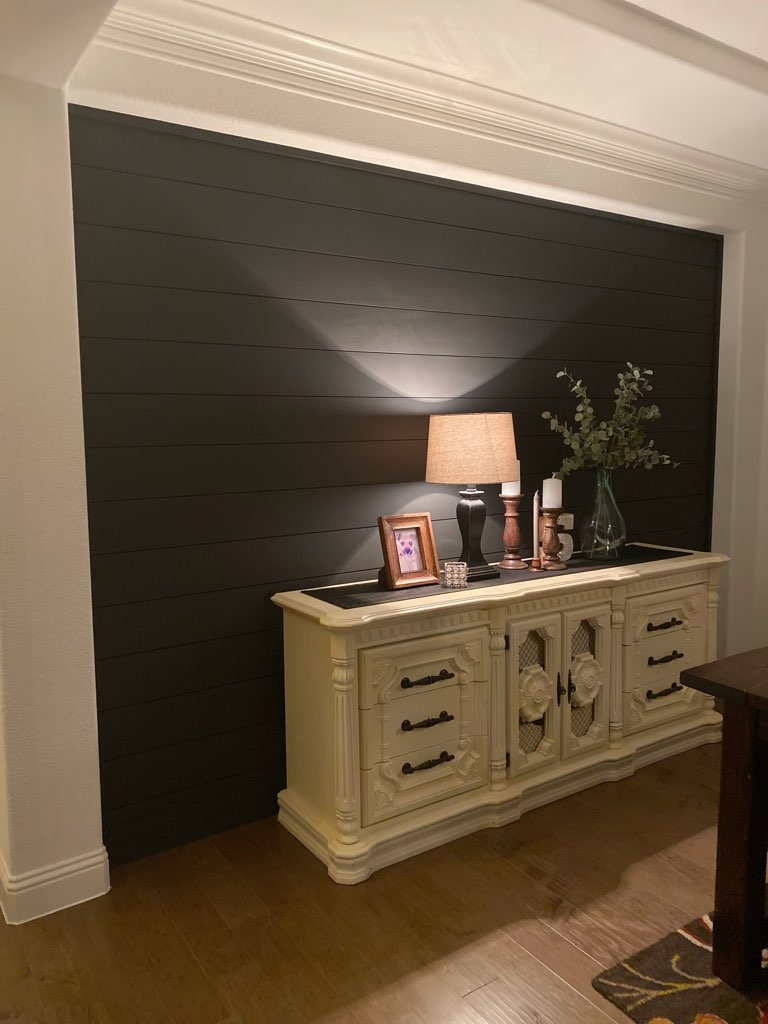
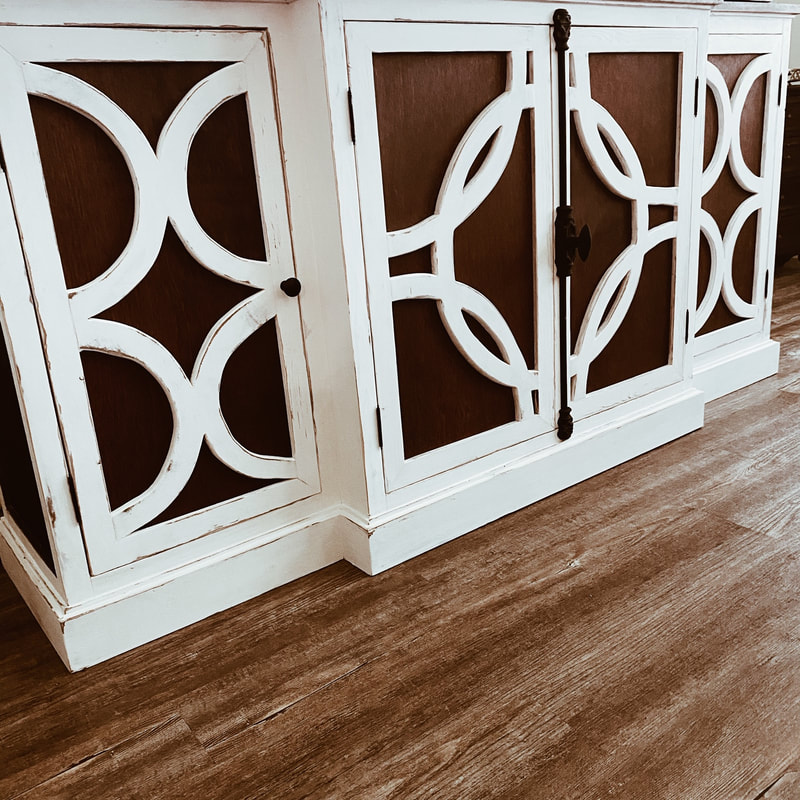
I’m really happy on how this statement wall turned out! I’m already brainstorming on where and how I can use shiplap again in our new home. Although, before I start to tackle anymore walls . . . I’m going to focus on getting this dining room together. Hopefully to come will be a new rug, dining room table/chairs, buffet paint update, window treatment, and some fun decor to add to my new favorite space! 
0 Comments
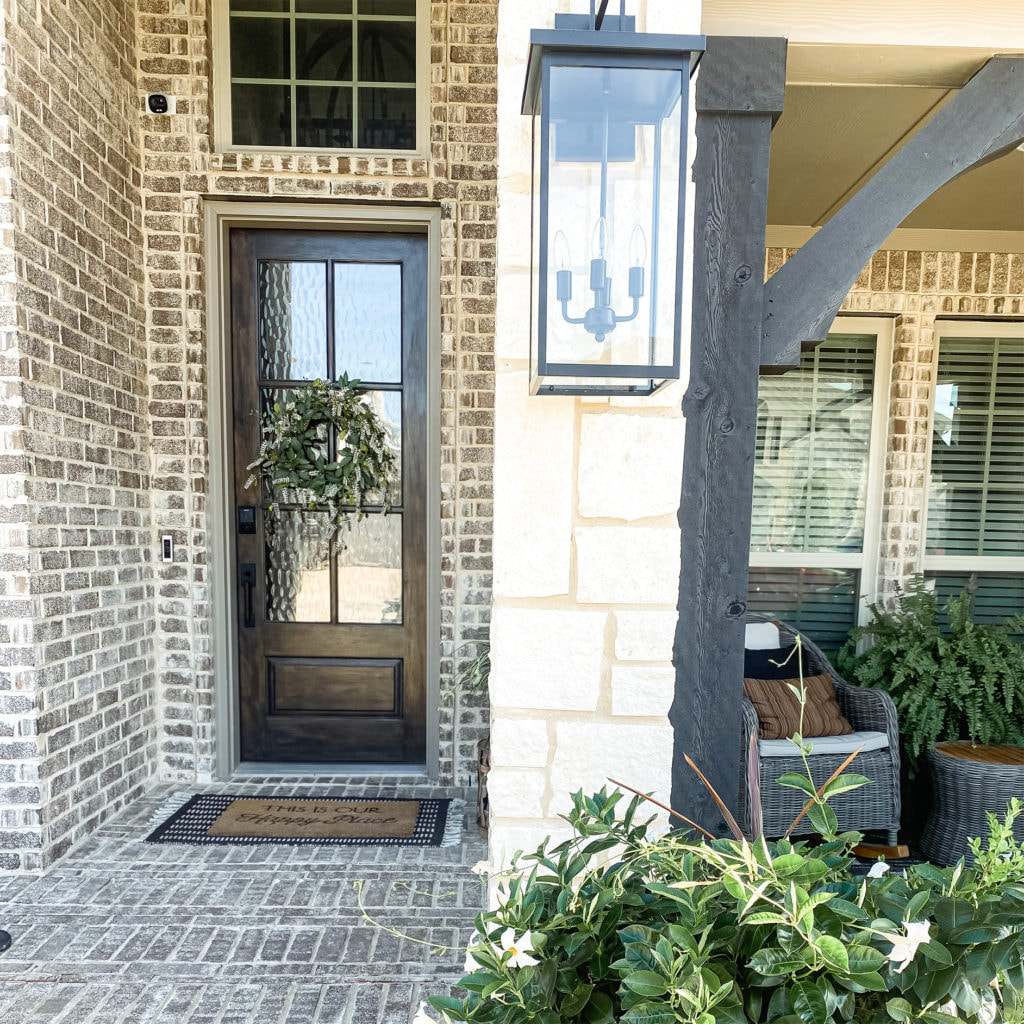
When building our home, I had a very specific style in mind “Modern Transitional Farmhouse.”
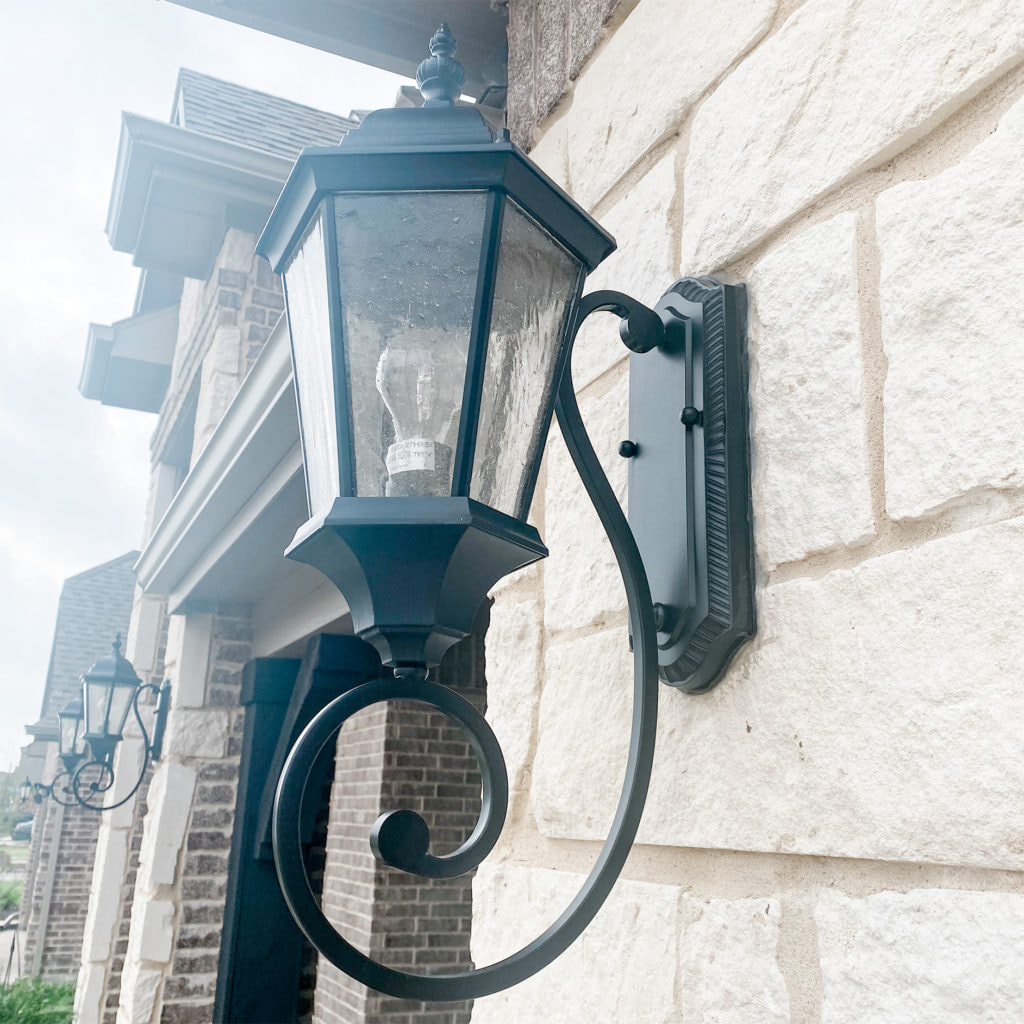
Unfortunately, these builder-grade exterior lights ... had to go! They 100% did NOT fit in with my style and I knew by changing them out our homes first impression would be set right. The picture with the circular scroll light above is what the builder put on the house. Luckily for me, it was still black in color but, honestly that was the only thing I liked. We had 5, yes FIVE of these lights on the exterior of our Modern Transitional Farmhouse! The first thing, I started to think about when in the market to replace them was:
I purchased the 27″ lights for my front porch entry to make a nice big “statement” and the 22″ lights for the garage. I love the contrast between the two on the front exterior of our home. A 11″ light was also added to our back service door off our garage. 
27" Exterior Light - 4 light powder coat black
22" Exterior Light - 1 light in powder coat black 11" Exterior Light - 1 light powder coat black More outdoor decor:
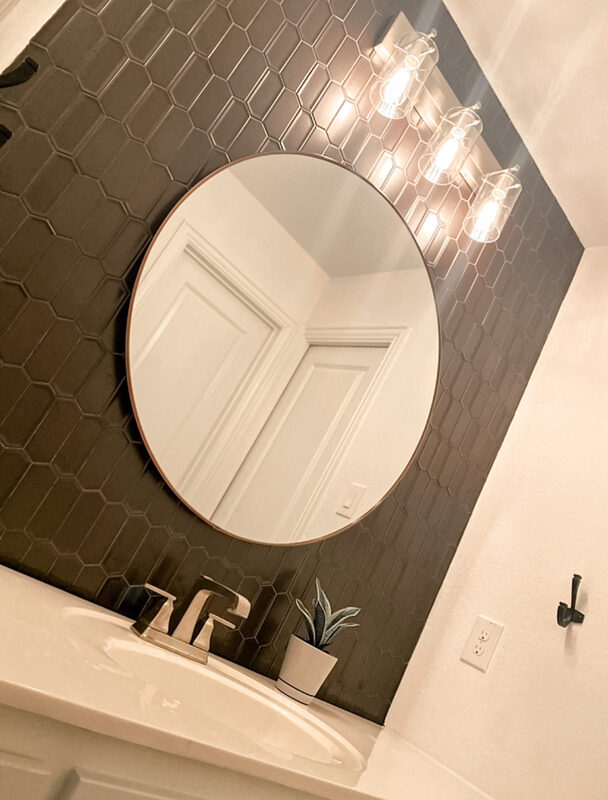
Our boys builder-grade bathroom was screaming for an upgrade! Well not really, but that’s really what I thought every time I looked around every night as I flossed & brushed teeth before bed!! I started with having the hubby tile the whole wall behind the mirror. Sticking with my Modern Farmhouse theme and the style I already have going on in their bathroom
lighting
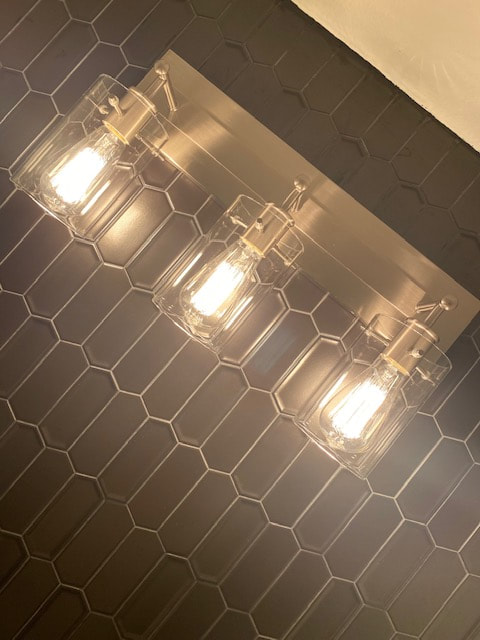
Next, was the builder-grade lighting! I have changed out EVERY single light fixture in my house, except for the bathrooms!!! So, I was super excited to get my hands on one of the bathrooms. This one came from @homedepot. Called the Hampton Bay Regan 3-light, then I added my favorite Edison bulbs for that extra kick! I LOVE the feeling these bulbs give off now, especially with the reflection I now get off the tile!
mirror
Finishing off this space, I was on the hunt for a round mirror and a pretty good size one to fill the space. I ended up purchasing a 37″ round mirror in a Titanium finish.

 The one room in which I thought long and hard about… I serious lost sleep over designing this room! Now that we are knee deep into construction, I’m beyond thrilled with all the changes and features we picked out. Above is a picture of our kitchen in progress … The island is BLACK, one of the best decisions EVER!!!
He's hands down the yin to my yang! Building this house has definitely had it's stressful moments but, with him by my side we can accomplish anything!
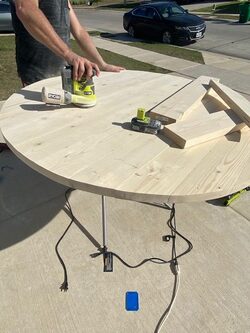
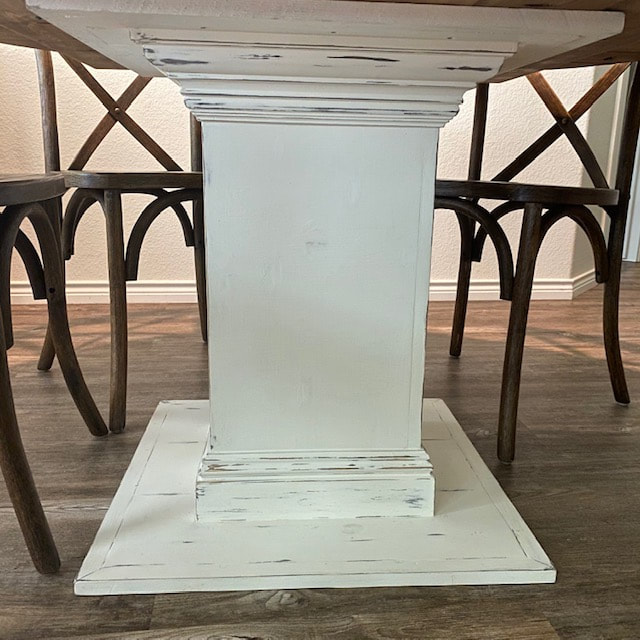
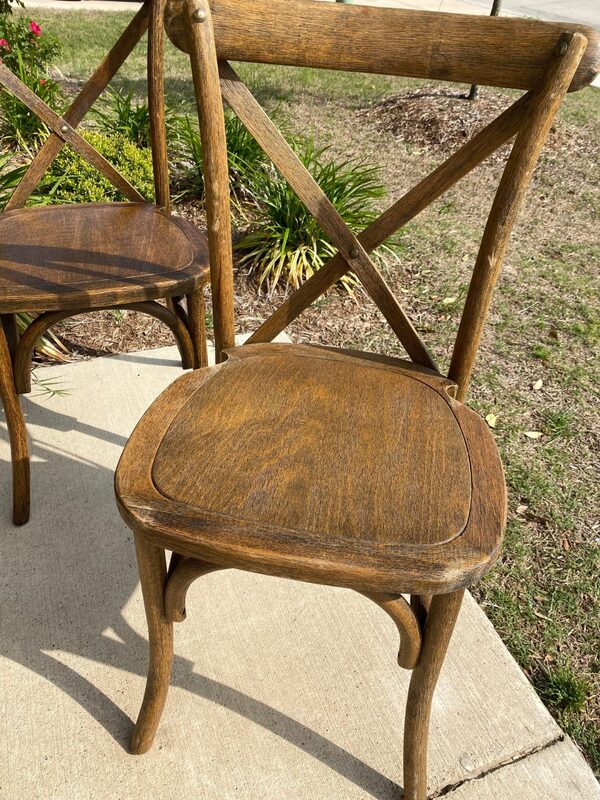
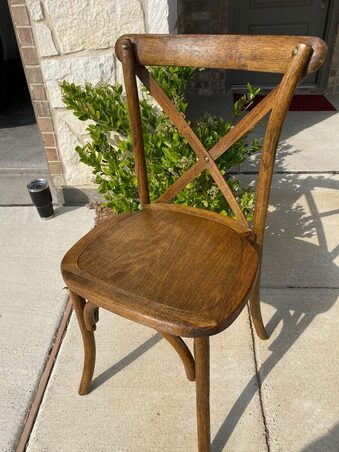
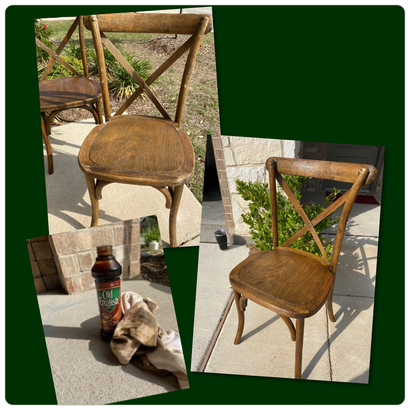
I really feel like this project deserves a . . . ✨”TA-DA”!!!!✨ I’ve always wanted a round table and our new house has the PERFECT eat-in space for one! The only problem I had was making sure the table was the right size. Meaning, I wanted it only to have 5 chairs. Here is our finished product 🔽🔽🔽🔽 The construction . . . After looking at many different options for chairs, I decided on cross-backs. I love the idea of wood chairs and the design of the cross-back adds the perfect touch of timeless style. I was searching and searching where to buy them, when I came across a for sale posting here in Dallas. It was a rental company (mainly for weddings) who was looking to decrease some inventory ... and guess what?! They had exactly what I was envisioning for my chairs, and gave me the options to purchase however many I needed at a great price. sprucing up ...The chairs came with "character" meaning, I knew they needed some sprucing up. The seat on the BEFORE picture looked worn and discolored however, after using some Old English Scratch Cover for Light Wood and an old cotton t-shirt on them, they were back looking beautiful! Not only did it cover the discoloration and wear, but it also gave these chairs a deeper more richer color of stain. That's a win-win for me!! oLD eNGLISH sCRATCH COVEROld English Scratch Cover helps restore damaged wood surfaces and hides unsightly scratches and nicks to bring out the wood's natural beauty! It's my #1 go-to when I'm looking to spruce up some tired wood.
|
disclosure"This post may contain affiliate links, which means I may receive a small commission (at no cost to you) if you make a purchase through a link!"
The VibeHome décor blog by a self proclaimed interior decorator who specializes in a Modern Transitional Farmhouse style. THE blog |
